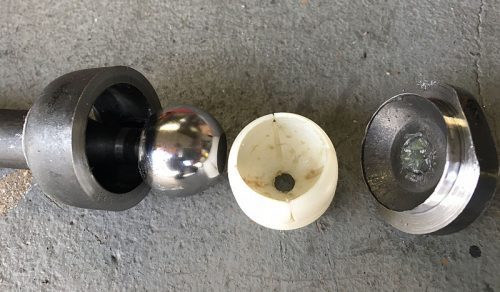
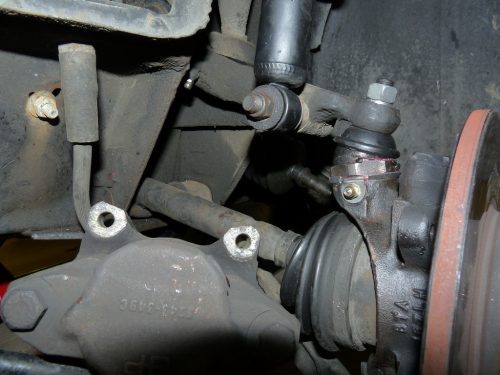
Greasing sealed ball joints can be quite hectic particularly when are not familiar with the procedures of doing so. However, with a few learning tips and a few trials, you won’t find greasing sealed ball joints a problem. Ball joints allow you to steer smoothly. They are constantly in motion, therefore, lubricating them once in a while is essential for a smooth ride. Here are a few steps on how to grease sealed ball joints appropriately.

Step 1: Check the Conditions of the Ball Joints
Before you grease ball joints, check whether the ball joint has any leaks. If it has, then repair it or replace it when necessary to avoid contaminants from blocking the dust boot of the ball joint. If the ball joint has zerk, it becomes quite easy. Clean the zerk for grease to enter. After you have adequately cleaned the ball joint, attach the grease gun to the zerk. If it doesn’t connect, replace it with a new one. It will help you get rid of clogged problems in the ball joint.
Step 2: Connect the Grease Machine To The Fitting
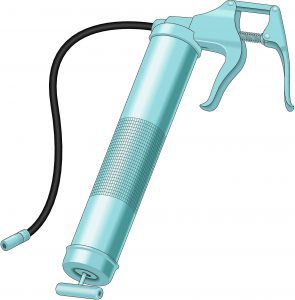
Attach the grease gun to the zerk fitting. Ensure that the gun fits the zerk as squarely as possible. Push down slowly until you hear the snap sound. Snap sound alerts you that the adapter has grabbed the zerk correctly. If your grease gun has an adjustable coupler, you can loosen the clamp for it to fit comfortably. But remember to tighten it up before pumping grease. If the gun’s nozzle hasn’t fit squarely to the zerk, grease might ooze out when pumping.
Step 3: Start Pumping Grease In
Once you are sure that the gun has fit appropriately to the zerk, start pumping slowly. Do this while watching the dust boot till it begins to swell. Don’t continue greasing after the dust boot swells. If you apply too much pressure after it is full, you may alter the seal that holds the grease in the ball joint. If you do that, then you may be forced to replace it. Some ball joints have a grease relief valve that allows old grease to exit the ball joint without altering the seal. If you have these ball joints, it is better to pump until the old grease oozes out of the valve.
Step 4: Separate the Fitting from the Coupler
Slightly tilt the coupler and pull it out slowly. It should come out easily. If you tilt it too much, you might break the zerk and can cost you more to replace it. An adjustable coupler is recommended as it comes out easily. You only need to adjust it till it loosens. It also makes it easy to differentiate the zerk from the grease gun, so breaking the zerk is almost impossible.

Step 5: Clean the Zerk
Wipe out any excess grease from the dust boot and the zerk. You can then check the joints for leakage by trying a few minutes’ drives. If you don’t encounter any problem, then you have done it right. But if you do, then there are a few concerns you have to worry about. You can pump in more grease to the joints. Doing so will help you eliminate the sound problems of your vehicle. If the problem persists, then it would be critical to change the ball joint with a part that comes with a zerk fitting. The zerk fitting makes it easy and simple to fix the grease gun to the zerk and ensures you pump in the right amount of grease.
Conclusion
Adding grease to ball joints is a crucial way of eliminating unwanted noise and other inconveniences due to friction. For a successful greasing, ensure that you use a hand-triggered grease gun. A hand triggered grease gun keeps you in control of how much grease you want to squeeze into the ball joints. If there is any resistance from the ball joints, you can feel it and can stop pumping more grease. Also, not all types of grease can be used on ball joints. The recommended type of grease for use is marine grease or heavy-duty lithium synthetic grease. They last longer and serve you better, and most brands repel water actively. Once you follow the above steps, you will realize how easy it is to properly grease seal joints.

